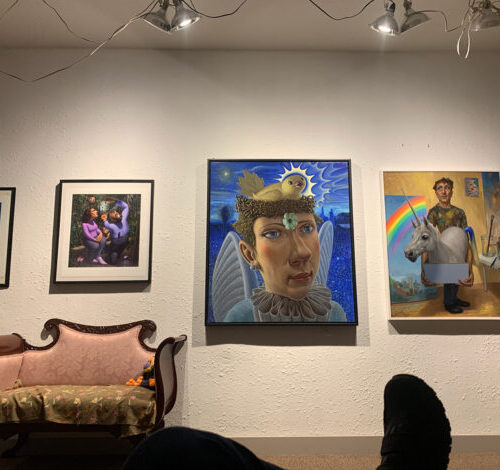
Lighting Artwork
There is a saying for lighting artwork…Light your space, not your face. Light your store, not the floor. Do your part, light the art!
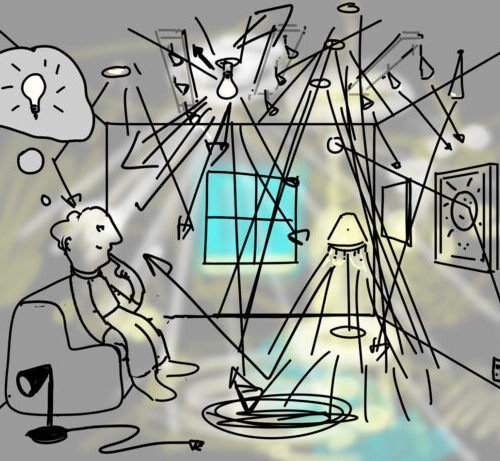
I remember going to school in Italy and upon entering some dark churches with their unlit side chapels, At the side of some of the chapels were pay meters to turn on the lights. If one put a few Lire in the money slot, the lights would go on and reveal the beauty and splendor of some pretty amazing old master paintings! What looked dark now radiated!
Lighting is everything in a museum or gallery and it’s the same in a home.
Lighting is an essential part of making the artwork look alive on a wall. A dark wall makes for dark art. So whether you use a spotlight, floodlight, or softly ambient light – as long as there is light to bounce off the pigments of a painting or print, that’s good.
But getting the angle right for having not too much or any glare is important too. Some homes look so nice at night. The reason is often that the house is lit so that light is lighting up the house, and not just shining at, and in your eyes. It’s the same with artwork.
Light Fixtures: My go-to
I always prefer lighting heads that can move on a track to adjust or reposition; moveable track heads at home, and clip-on lights for the studio. Usually, one light in a good position, distance, and angle do the job for each piece of art. I have a lot of art in my home and studio so I have a lot of lights!
Bulbs
A flood-type bulb, is good if you want to light a large space. But I prefer a spot light on most of my work. The older incandescent and halogen spotlight bulbs used to create hot spots and be a bit too bright. in spots
At home, and at the current studio we are using mostly LED Spotlights. These are the most readily available bulbs, and are very good. I prefer a slightly warmer lightbulb temperature, say a 3000K temperature bulb, but it is really up to the viewer which they like in each space. I prefer dimmable lights to adjust the brightness according to the ambient light of the day or night. In the evening our eyes adjust and things look less washed out with a slightly dimmer light. But you’ll want to centre the light on the whole piece. Sometimes two lights are required.
LED bulbs use 1/10th the power of the old incandescent lights.
Lighting Artwork At Home
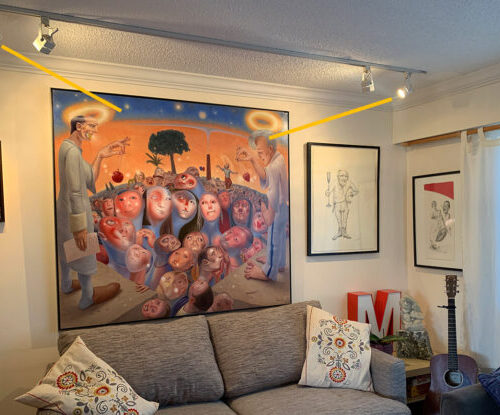
I have track lighting with movable heads in my living room, that runs the perimeter of the room about two feet away from the wall. When I finally put good lighting in a few years ago, I wondered why we waited so long! The track is wired in and is hooked up to a dimmer switch. Sometimes the lights are bright, and sometimes a bit dimmer. Adjustable lights allow me to move lights as I change up the artwork every so often and position the lights if a sheen or glare is spotted while sitting on the couch.
At night, I love to just sit and stare at the softly lit paintings. Between the lighting and the art, we have a nice range of moods covered!
Studio Lighting
At the studio I use construction clip-on lights with very low wattage, using warmish white LED bulbs. I used to use a sandblasted specialty bulb to get even lighting, but it was too yellow. Now with LED, I find the light even so the newer technology works for me! I prefer a ‘warm white’ light. Ten LED bulbs use the same power as one older incandescent bulb, so my room glows and minimal power is used.
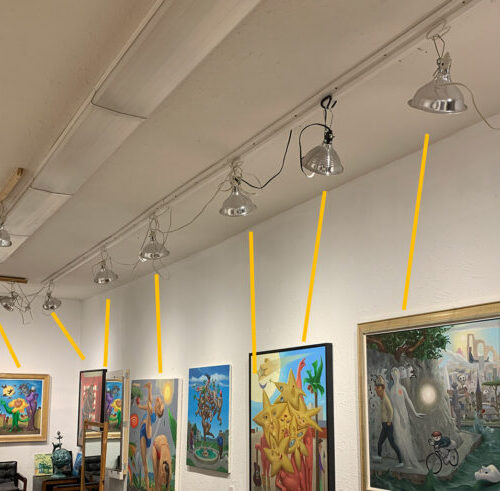
Lighting Artwork for Optimal Viewing
The main takeaway: Find the prime viewing spot where the viewer will experience the piece.
The lighting is angled right at the viewer, both blinding the viewer and creating a lens flare.
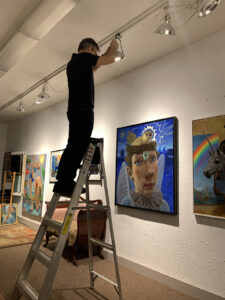
Adjusting the lights – Remember, safety first!

Find the ‘Prime Viewing spot’ and be aware of exposed bulbs. Original Oil Painting ‘Angel Song’
If someone enters my home or studio I want them to see the artwork, not the shine coming off of the artwork. To avoid this, I position and angle my lights to get the least amount of glare, from the preferred or prime viewing spot. This could be standing or while sitting on the couch – I want people to see the art and not glare. When I create the paintings, I angle my studio lights from high above left down and fairly close to the easel so I don’t see shine or cast a shadow while I paint.
When I sit on my home living room couch the track light is close to the wall, so the light points down and they are to the left and right of the artwork so that the light isn’t bouncing at an angle into one’s eyes when they walk in the room. I like lighting that doesn’t shine at you, but at the object one is looking at.
The dimmer switch was installed so the lights could be lowered when watching television, and for controlling the intensity of light on the work. On a gray Vancouver day, it is nice to have the lights on a bit to give the artwork a soft glow.
Recessed lighting is not right for artwork unless it is directional. One friend recently did a renovation and put in recessed lighting, and just in front of the fireplace, but never considered lighting directly above the fireplace where actual artwork is hung. It is a bit of an oversight, but fixable with a different fixture installed in the recess.
I am not a fan of little clip-on-power frame-type lighting unless the artwork is small. Sometimes the wires stand out and distract from the art.
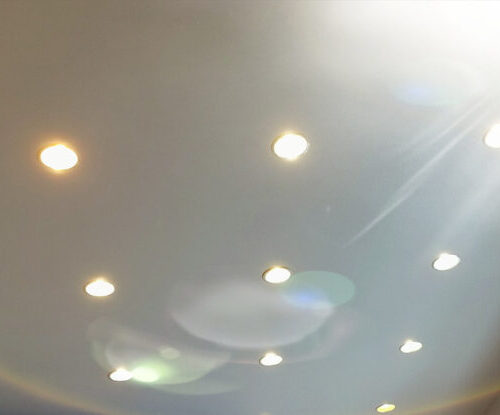
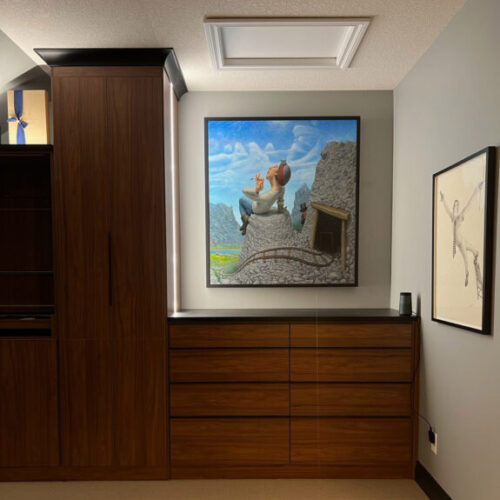
Hotspots
Reducing the glare with 1 controllable light
Similar to when a camera flash glares back when taking a photo of a frame, controlled or ambient light can have the same constant effect. If this is happening at home, it could mean that the light needs a bit more distance from the artwork. Lighting that appears too dull may mean the light may need to be brought a bit closer… or for larger works maybe add a second light or use a slightly stronger wattage bulb.
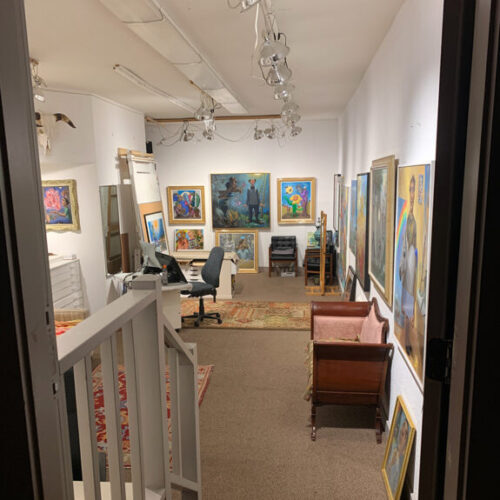
In my studio I want people to walk in and immediately see the artwork well-lit, so I point the lights at an angle into the room. People get drawn into the artwork as they walk the length of the long studio wall without light shining in their eyes. When they turn to leave they may get a bit of glare but by then they have enjoyed the art!
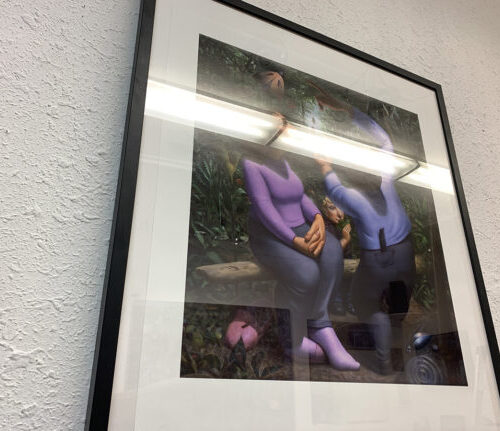
‘Family In the Woods’ art print with the glare of fluorescent lighting.
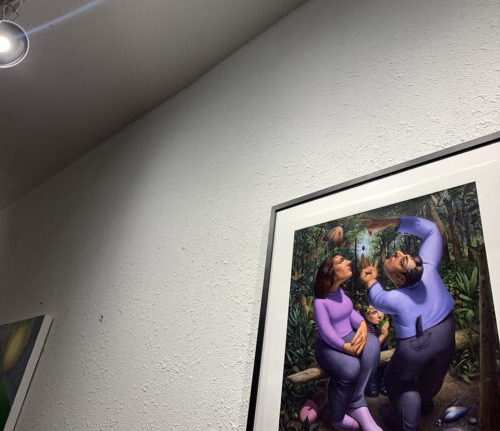
Reducing the glare with 1 controllable light
Similar to when a camera flash glares back when taking a photo of a frame, controlled or ambient light can have the same constant effect. If this is happening at home, it could mean that the light needs a bit more distance from the artwork. Lighting that appears too dull may mean the light may need to be brought a bit closer… or for larger works maybe add a second light or use a slightly stronger wattage bulb.
In my studio I want people to walk in and immediately see the artwork well-lit, so I point the lights at an angle into the room. People get drawn into the artwork as they walk the length of the long studio wall without light shining in their eyes. When they turn to leave they may get a bit of glare but by then they have enjoyed the art!
Example: Using Angel Song Painting
Here are a few different shots of the ‘Angel Song’ painting set up in the studio. When the light is too close to the top it creates a hotspot. To conquer this, adjust the angle of the light so it points lower down (double-check that you are lighting the art and not the floor).

Before – 2 lights pointed at one spot and it’s too bright! Time to adjust the position.

Looks better after light adjustments, but there is a hotspot still visible, at the top center.
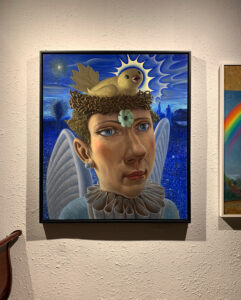
Notice the difference in shadows after distancing the spot of each light. This is even light.
I try to position the light and/or two lights to be evenly centered, not too bright or hot in any spot. Sometimes I want a certain section of the artwork to pop by being slightly brighter lit than other areas, so I focus the light on that focal point.
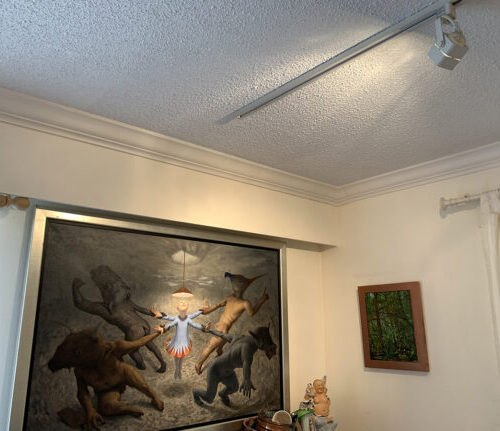
Closer lighting gets brighter but sometimes too bright – Farther away creates softer lighting which can be nice on some brighter pieces.
Large artwork sometimes needs 2 lights shining from both sides.
Example: Quick Fix in store
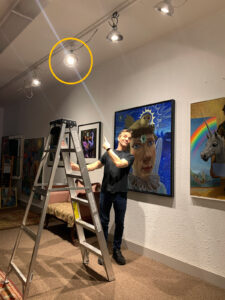
When I visited a boutique gallery shop I had a few artworks in, I was chatting with the owner and she said they needed better lighting. I noticed they were lighting the floor, not the store! Since I am a bit obsessed with getting the light right, I asked her if I could help her by re-positioning some of the lights, to get the right angles to make the store and her product better lit, without the expense and hassle of getting new lighting. Within half an hour of jumping up and down a ladder, she was pleased as can be that the store and her product “came alive”.
Conclusion
So if you are in doubt about whether a painting is too dark or too bright for a room or space, lighting artwork is often as simple as repositioning some of the lights. Sometimes just repositioning the direction of the light a few inches can change the ‘feel’ of the artwork. By asking the right questions*, you can make your home feel like the Sassetti Chapel in Santa Trinita.
The Questions*:
Does the light need to be closer, farther, higher, or lower, and at what angle does the light need to be so you get the least amount of glare?
